Here we have the top of a small folding game table from the early to mid 20th century, as you can see it is fairly rough. Most people seeing it would immediately say it needs to be stripped and refinished. However before I ever make that decision I like to determine if the piece is rare, has any historical significance, what the finish is and give it a good cleaning. In this post I will go thru the process of cleaning step by step.
This is the top of the table when it is folded.
The first step is to remove the dust and lose dirt and debris with a soft brush and cotton rag.
Next I like to inspect the surface under black light, the various resins used in finishes will fluoresce a slightly different color when viewed with the black light. By comparing the finish to a sample board of various finishes it’s sometimes possible to identify the finish. Even if you can not identify the finish you can determine if there is more than one finish on the surface. Some times a piece has been over coated or has been spot repaired in the past, under black light it’s easy to see if there is more than one resin present even if you don’t know what they are.
In this case the black light showed only one finish present, I was relatively sure the finish was lacquer which I confirmed with a solvent test, that is what the white spots are from in the next picture. Without knowing what the finish is you don’t know what is safe to use to clean it.
The next step is to do the heavy cleaning, remember that there are usually three kinds of dirt and grim on a surface, water soluble and oil soluble and non-soluble. In each category you need to start with the weakest solvent and move to the next strongest until you remove what you are trying to get rid of. On this piece I used an all in one formula that, I have been told, was developed by the British Museum. This formula is relatively safe but with this and any other cleaner test on an inconspicuous spot to be sure it does no damage to the surface.
8 oz Turpentine
4 0z Denatured alcohol
2 oz White Vinegar
1 oz Murphy’s oil soap
1 oz Brasso
1 tea spoon household ammonia
Mix in the order given and shake well. If you know the finish is shellac you can back off the alcohol to be safe.
Some people say that turpentine is not necessary that mineral spirits will work, I have had mineral spirits cause some old shellac finishes blush (turn a cloudy white) so I no longer use it.
Just like the solvents start with the least aggressive applicator a cotton rag and progress to the stronger, a white nylon pad, a gray pad and so on.
As you can see this formula did a good job of cleaning this piece. It removed every thing except three areas of blush and several areas of black stain and some paint that is non-soluble.
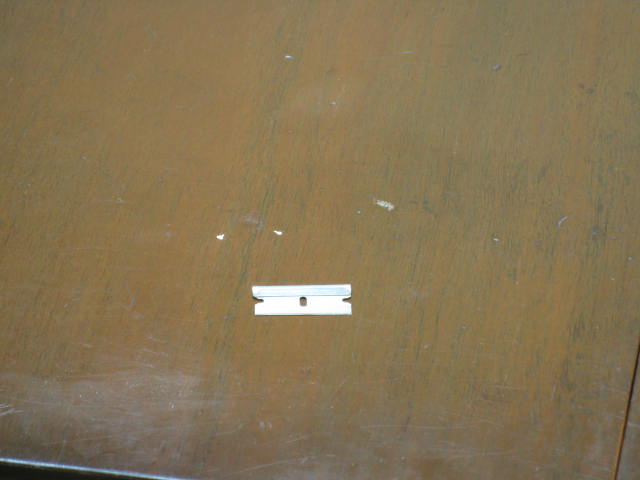
The paint and any other non-soluble debris I removed with a razor blade.
At this point I determined that there were three areas of lifting veneer which I repaired before continuing.
Here we see there are a number of black water stains, these can be removed by bleaching. Again start with the least aggressive bleach and move to the strongest until you get results. In most cases water stains are caused by iron, the bleach to remove iron stains is oxalic acid, the least aggressive of the bleaches. If this did not work, next I would try household chlorine then swimming pool chlorine and finally two part wood bleach.
The blue liquid in the jar is oxalic acid based deck wash from the local hardware store I put it on with a brush and scrub it in with a green pad then let it dry, repeat until the stain is gone.
Below the top is partially bleached you can go as far as you want or leave some of the stains where they are depending on how you want the piece to look when done. I almost always go this far before I decide whether to strip or not. Normal strippers will not remove the black stains any way so not much work is wasted even if you do strip the piece. If a piece has true historical significance it should not even be bleached. The distress is part of the history. My personal preference is to do just enough bleaching to make the piece, when retouched, look like a well cared for antique but leave enough distress so the piece looks as old as it should.
I have not yet decided whether this piece will be retouched, re-amalgamated or striped and refinished. It will depend partly on the customers budget.


Very informative…..like your blogs
That cleaning solution looks interesting! I’ll have to give that a try the next time the situation arises.
Great info! Seems effective and interesting!
Pingback: Carving like a machine ( game table ) | millcreek woodworking
Thanks for sharing the cleaning solution, I will give it a try