This is where I left off in the last post, the piece has been burnished and simulated wear added. A small amount of distressing was also added. It is now ready to be colored and finished.
Here it is finished.
This piece is made of white pine with cherry legs. Coloring pine presents two problems, grain reversal and blotching. The grain will almost always reverse if you dye or stain raw pine and some other woods. Blotching depends on how much grain runs out of the surface of your lumber. There are a couple of ways to deal with these problems. First is to completely seal the wood and apply the color as a toner so the color sits on top without penetrating the surface. There are dye and pigment toners and they both work. The problem with this approach comes after the piece begin to show some wear, it becomes obvious that the color is sitting on top of the surface. The second approach is to chemically change the color of the actual wood. This can include the use of bleaches, acids, mordants, UV light among others. The idea here is to try and recreate and accelerate the natural aging process. The problem with this approach is the the chemicals can be extremely dangerous to use.
This is a sample board I made using aqua fortis, garnet shellac and black wax.
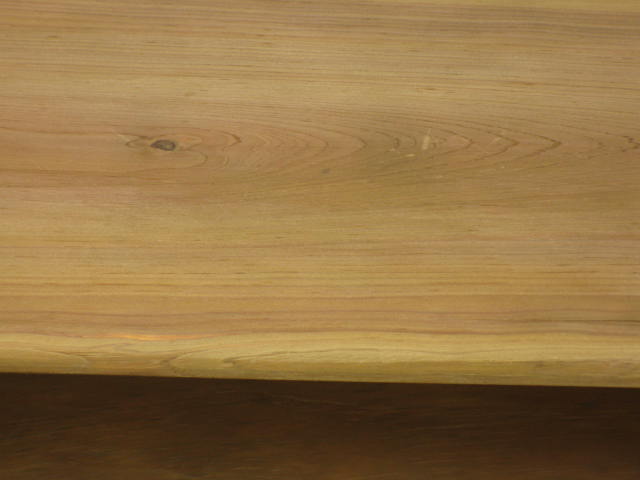
A close up of a pine board treated with aqua fortis. You can see that the wood is darkened without grain reversal. The darkening is in the surface of the wood. Aqua fortis is made with nitric acid which is very dangerous. Don’t do this without being trained in the use of acids and the proper safety equipment.
The table chemically treated.
Next two coats of garnet shellac, then a coat of van dyke brown glaze.
The glaze was allowed to flash off [ dry until the shine was gone ] then wiped back. One more coat of thin shellac to seal the glaze.
The table was then given a coat of black milk paint. The milk paint was allowed to dry but not cure, about an hour, it was then scrubbed off strategically with a maroon nylon pad and water. Then another thin coat of shellac. Finally it was waxed with black wax a couple of times. The black wax does a couple of things, 1 it stays in every scratch, crack, plane track, ding and flaw and makes them show, 2 it takes the shine off of all the low spots and crevices and adds shine to all the high areas.
Here is the original piece from the Mesda. If you clic the link you can read all about it.
Mine is slightly smaller I built it to fit a particular space.


Great
The original has extra nails as if the dovetailed corners were reinforced with blocks. Any idea what it is?
I have only seen the picture in the post not the actual piece. I did talk to the curator at MESDA and he did not mention blocks in the corners but that doesn’t mean they are not there. I noticed the nails too and thought that nails and some blocks may have been added some time later to reinforce the piece after the glue had failed. There are nails also through the stretchers into the legs. Nails are a common fix used by those who don’t want to take apart and re-glue joints, but I am guessing they may be original I don’t know.
Great info and finish!
The table looks great, and the wear on the legs and stretchers looks quite true to life. Are there other alternatives to using aqua fortis/nitric acid? The warnings I about handing and majing it are quite severe. Read on some forumns,that it can be quite readily available from some art supply stores. Are there weaker concentrations available?
There are other chemicals that can produce similar effects such as Potassium dichromate, Potassium permanganate, tannic acid and others, but they are dangerous also. Nitric acid is available in a reduced strength from print making suppliers. There is also a commercial product sold called AQUAFORTIS it is sold as a gun stock finish.
The table turned out really well; I’m sure your customer is happy with it.
Did you neutralise the nitric acid after you applied it to the wood? That’s an interesting use of milk paint – one that I wouldn’t have thought of.
Jack, I’m not sure it needs to be neutralized but I did, sodium bicarbonate. What say you?
It is necessary to neutralise the nitric acid as otherwise it will leach out for months, damaging the finish and attacking any brasses.
Sodium bicarbonate or sodium metabisulphide (sodium metabisulphite in the US) would be suitable. Be sure to wash the furniture down with clean water after neutralising and of course, read any applicable MSDS before touching either compound.
To be honest, nitric acid isn’t a good treatment for pine; I only use it on a couple of hardwood species when I’m being pedantic/historically correct. The inherent dangers and leaching worries just aren’t worth it and I find equal or better results can be had with modern aniline dyes.
JP
I do like this post. A lot! Followed up your recommendations for stain on pine at WoodNet without grain reversal, and have been snooping here since. Like Jack says, I think a dye for “aging” pine will be safer. But, I do want to milk paint a portion of a piece that receives the color dye, and will copy your method described here. Thanks, a lot for your efforts to disseminate knowledge!.
hbmcc